A group of five Mi-24 Hind gunships, callsign Stingray, was the Military's insertion method for Operation Fairway. Their fate is the main focus of S.T.A.L.K.E.R.: Call of Pripyat's early questline.
Background
The high-tech helicopters were designed to traverse the Zone's normally dangerous air in order to deliver a large battalion of soldiers into the heart of Pripyat itself, in order to make a move to retake the Chernobyl NPP from the hands of Monolith. Their design was seemingly foolproof and not a single helicopter was to be lost - instead, as the intro to Call of Pripyat shows, every single one was either shot down or grounded due to the unknown causes, stranding most of the military if not killing them outright, forcing them to fall back to evacuation zones throughout the area. They have the same design as the MI-24 "Hind" gunship, a common Soviet assault/transport helicopter that is still used today. Though STINGRAY helicopters are obviously Hind's, they have been specially modified with emission-resistant systems and countermeasures for the Zone's various threats.
Judging by the number of casualties, the number of Military present in Pripyat, it seems each helicopter likely carried around 12 men, for a total of 60 - 4 crew, and 8 soldiers, the same amount that the MI-24 is originally designed to carry. Around a third of these were killed in the landings, and another third were killed in struggles with Mercenaries - the remaining 20 are slowly whittled down to a mere six by the conclusion.
Stingray 1
Stingray 1
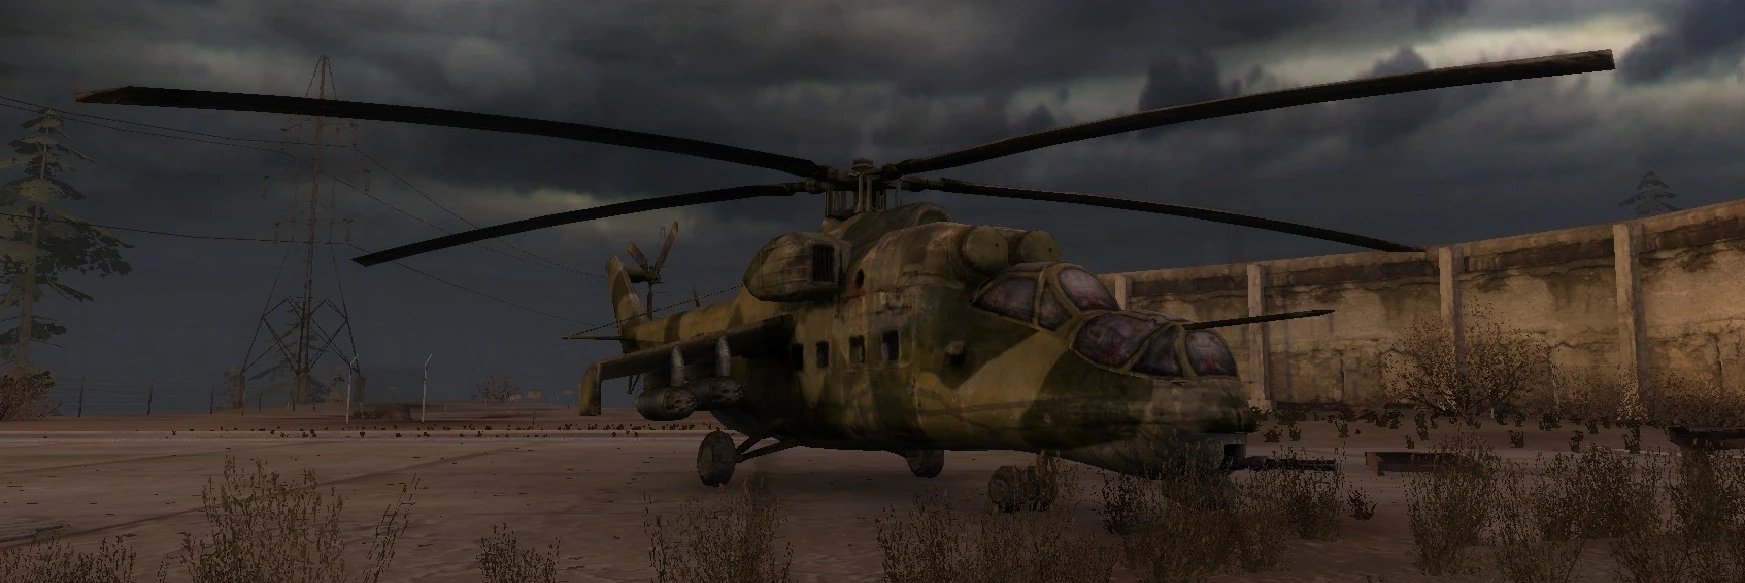
Stingray 1, Col. Kovalsky's transport, manages to touch down safely on the Helipad, in what was formerly an army-controlled area of Yanov. Two crew members were killed on impact and one as he accidentally stepped on one of the many landmines to the north. The remainder of the crew linked up with survivors of other helicopters and made their way to Pripyat, where Kovalsky took control and organized their base inside the Laundromat. Duty forces attempted to divert the helicopter elsewhere, but the military pilots either did not recognize their signals, did not trust them, or there was not enough time.
Tips
- Getting to the chopper is simple: start off at the warning sign, then look for small wooden poles that stick to the ground, they're markers, just follow the markers to the body in the middle then get to the chopper. As an alternative, stick to the road and avoid the dark circular patches; these are mines. Once you have reached the grass at the end of the road, you are home free. Either way, you'll get to the chopper without triggering any landmines.
- Upon inspecting the chopper, a large horde composed of Boars and Flesh will charge through the mine field - they'll trip most of the landmines, but follow the markers, just to be sure.
- Jump from the front of the chopper to the top, then get on the end of one of the propellers and from there you can easily kill the boars without taking damage.
- Bolts will make a distinct "klink" sound if they land on a landmine; however, they will not trigger them.
- One of the worst situations to be in when trying to reach or even leave the field of landmines is for an emission to occur. Be sure to take Anabiotics in case you cannot reach a safe spot as there isn't a shelter for some distance, and being caught in the middle of the minefield during a blowout will likely be fatal.
Stingray 2
Stingray 2
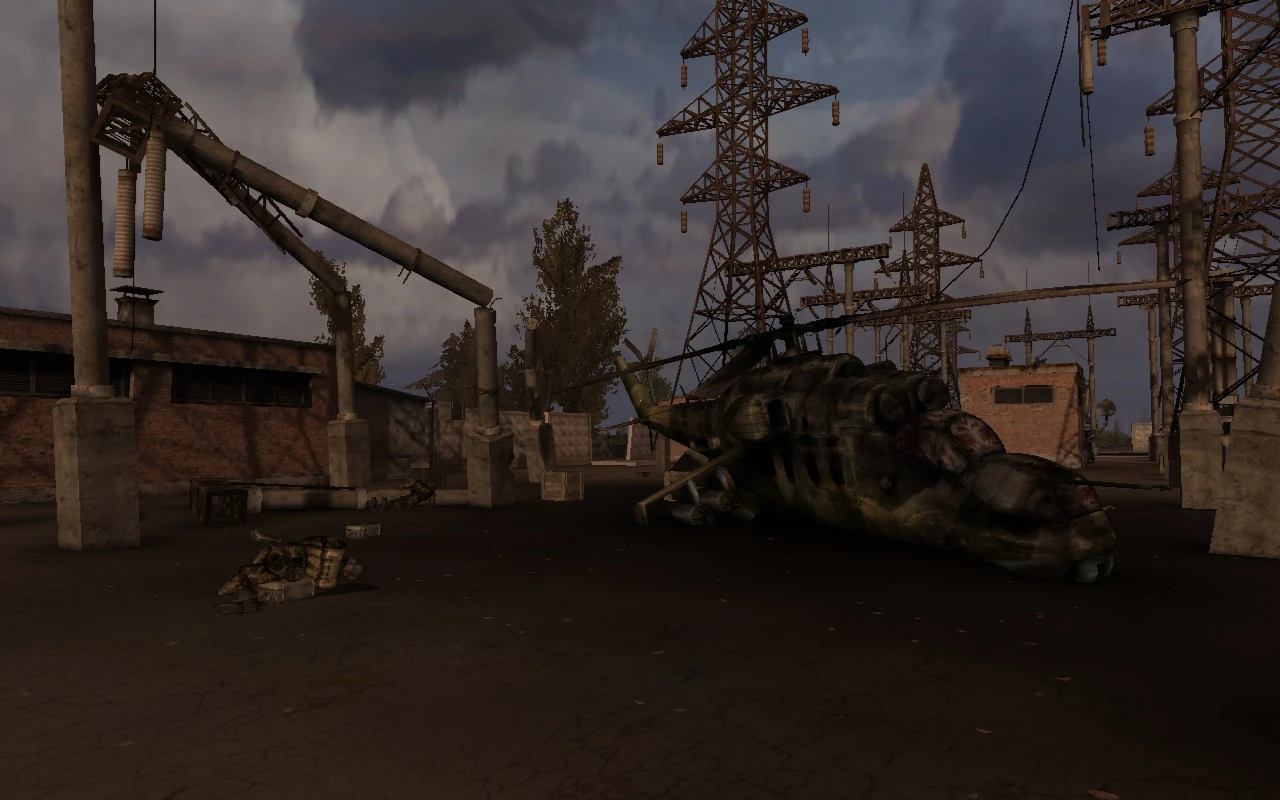
Stingray 2 crashed near the Iron Forest anomaly. The crew was killed in midair, resulting in the crash, and what few passengers survived were killed almost immediately by a Poltergeist which still inhabits the area. According to Col. Kovalsky, they have no idea what happened to Stingray 2 - no one from the squad survived the crash and ensuing poltergeist attack.
Tips
- Inspecting the helicopter is much easier if you kill the poltergeist first. Aim your gun at the moving electrical distortion and fire when your cursor turns red.
- While you are in the area, move to the southwest corner of the Iron Forest, and look inside the small building. Inside the building, in a desk, is a Black Kite and plenty of .45 ACP rounds - a nice find early in the game. You will need to do a low crouch (crouch + left shift, by default) in order to pick up the Black Kite; due to a bug, pressing the 'pick up' key will not work while in a normal crouch.
- Stingray 2 contains maps of the area which you can give to Pilot for a discount on traveling fees between Zaton and Yanov.
Stingray 3
Stingray 3
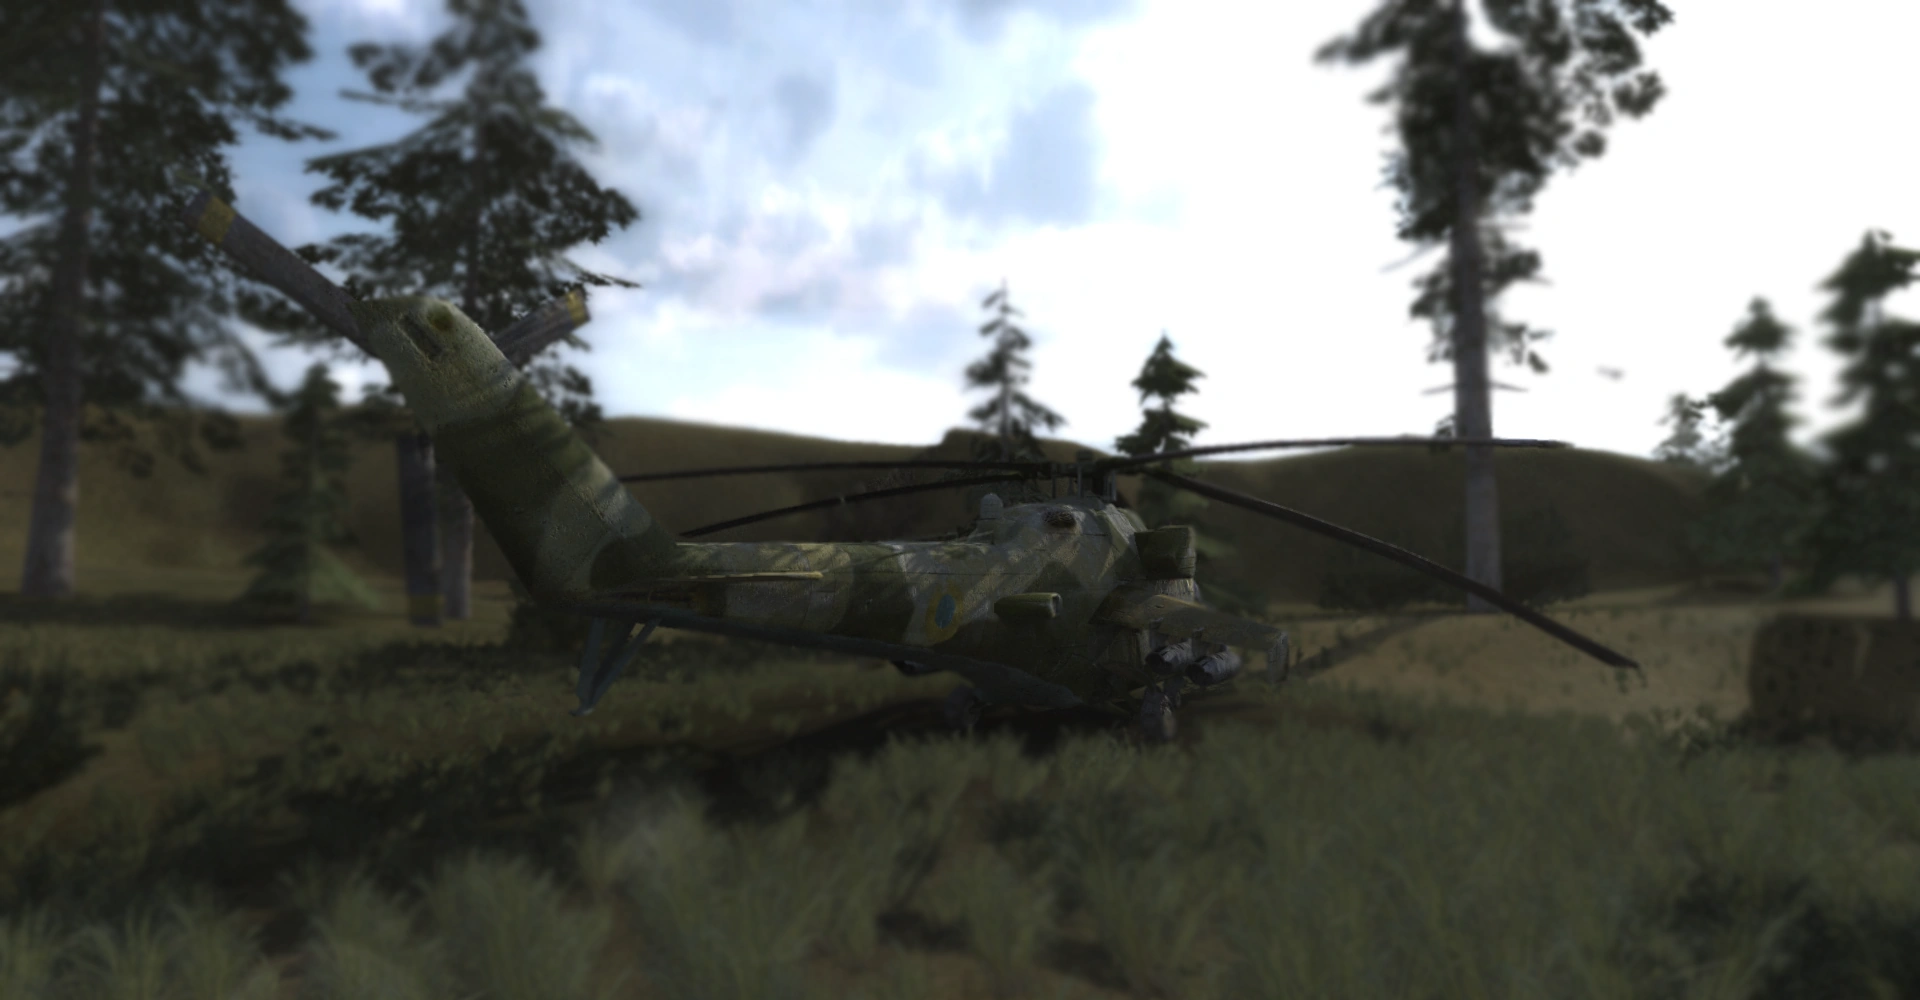
Stingray 3 crashes in the plateau in southern Zaton. This helicopter has very few survivors - it is subtly suggested Cpt. Tarasov is one of them. Most of the survivors of the initial crash were immediately attacked by Snorks, which succeeded in killing the inexperienced, unprepared men. What few survived made their way to link up with the other Zaton area survivors.
Tips
- Bring a shotgun. At least 5, as many as ten Snorks may be in the area. If you avoid the cave you might avoid most of them, but if you want all the loot you'll likely need to kill all of them.
- There is no loot near the chopper, but the three corpses (two hidden inside the Snork cave itself) hold some loot.
- Generally not worth the hassle, but a Svarog detector might occasionally pick up an artifact inside the cave.
Stingray 4
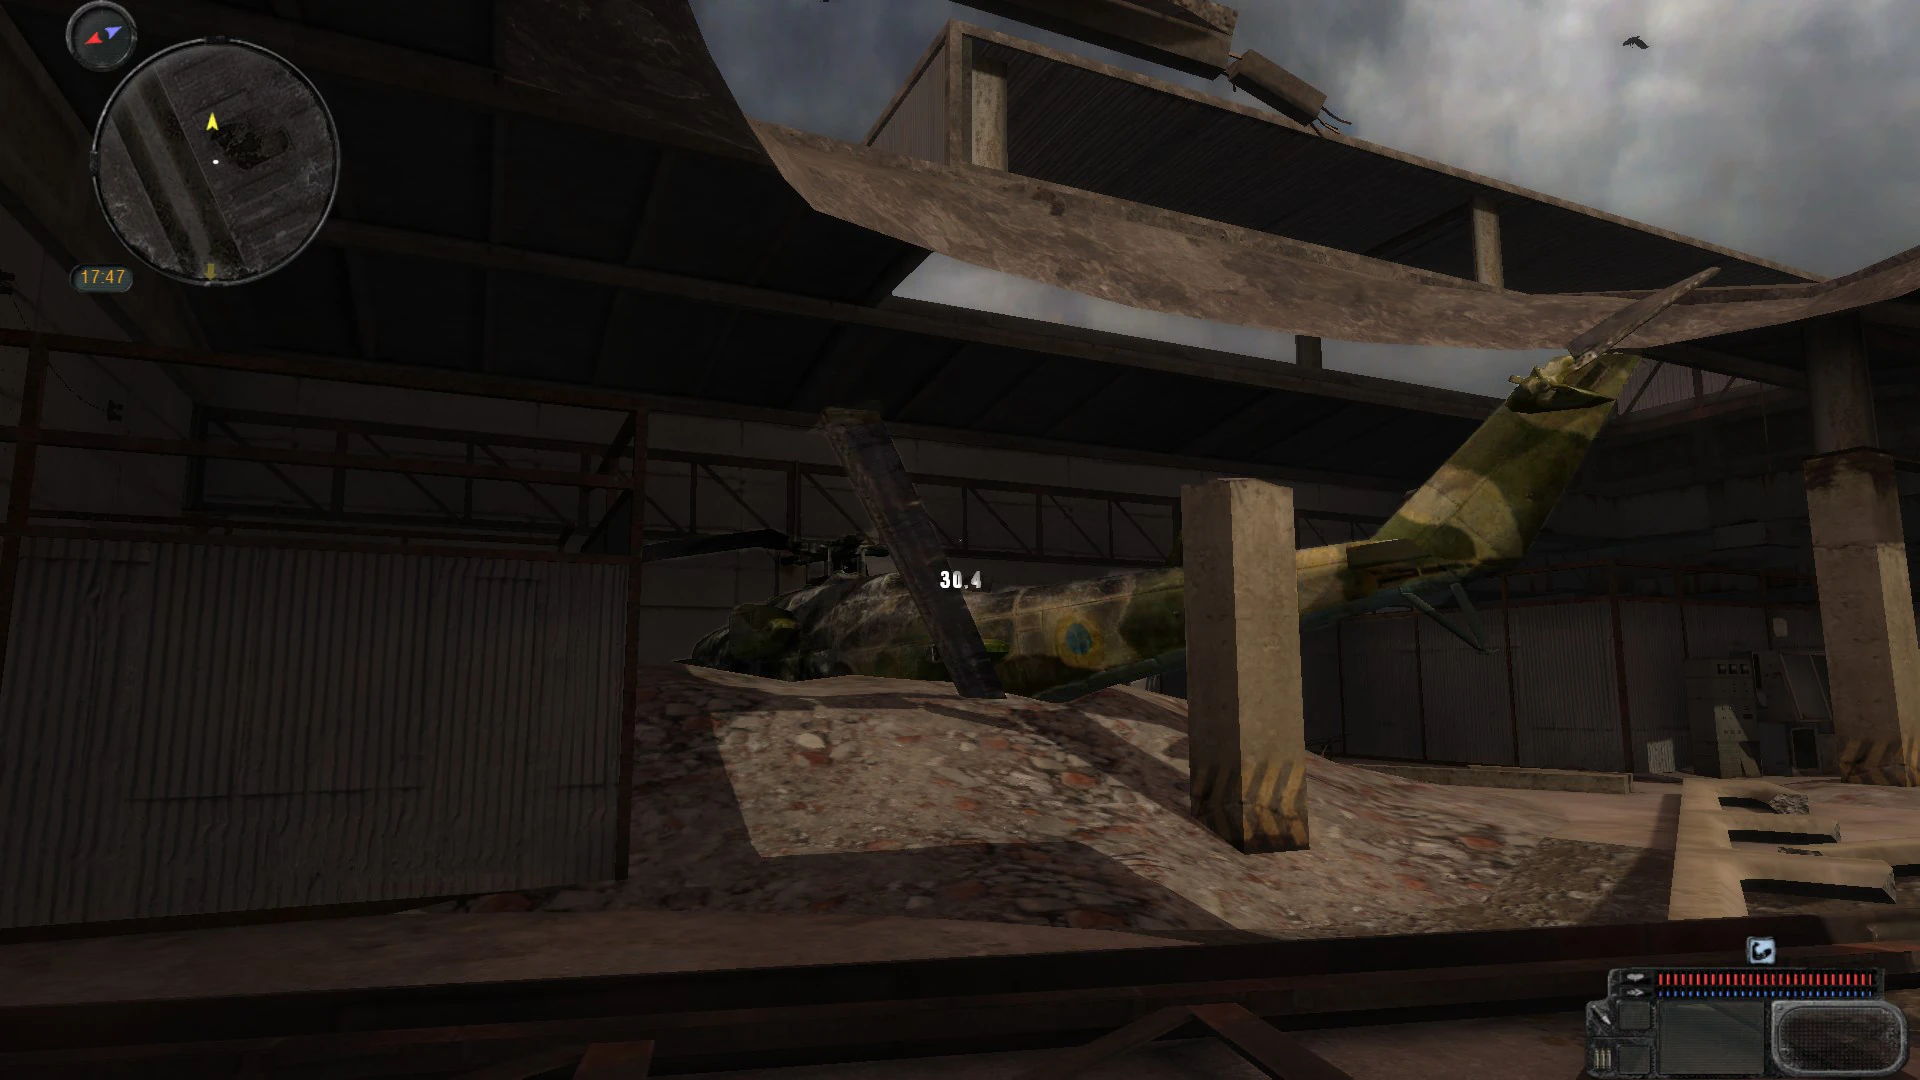
Stingray 4 inside the Jupiter Plant
The helicopter co-piloted by Lt. Sokolov, this one had the misfortune to be struck in midair by an anomaly similar to the one which grounded Stingray 5. However, this helicopter crashed inside the Jupiter Factory, and what crew survived the initial impact was quickly killed by the various mutants roaming the abandoned complex. Through a sheer miracle, Sokolov escaped with his life, and was later taken to the Mobile Lab by Garry.
Tips
- The only thing to take note of is the various blind dogs roaming around outdoors, as well as the two Psy Dogs guarding the helicopter itself - otherwise it's a walk in the park. There is also a stash in the crash site's room containing an AKM-74/2 and 120 5.45x39mm FMJ rounds under some overturned machinery in the path one will walk to the crash site.
Stingray 5

.png)
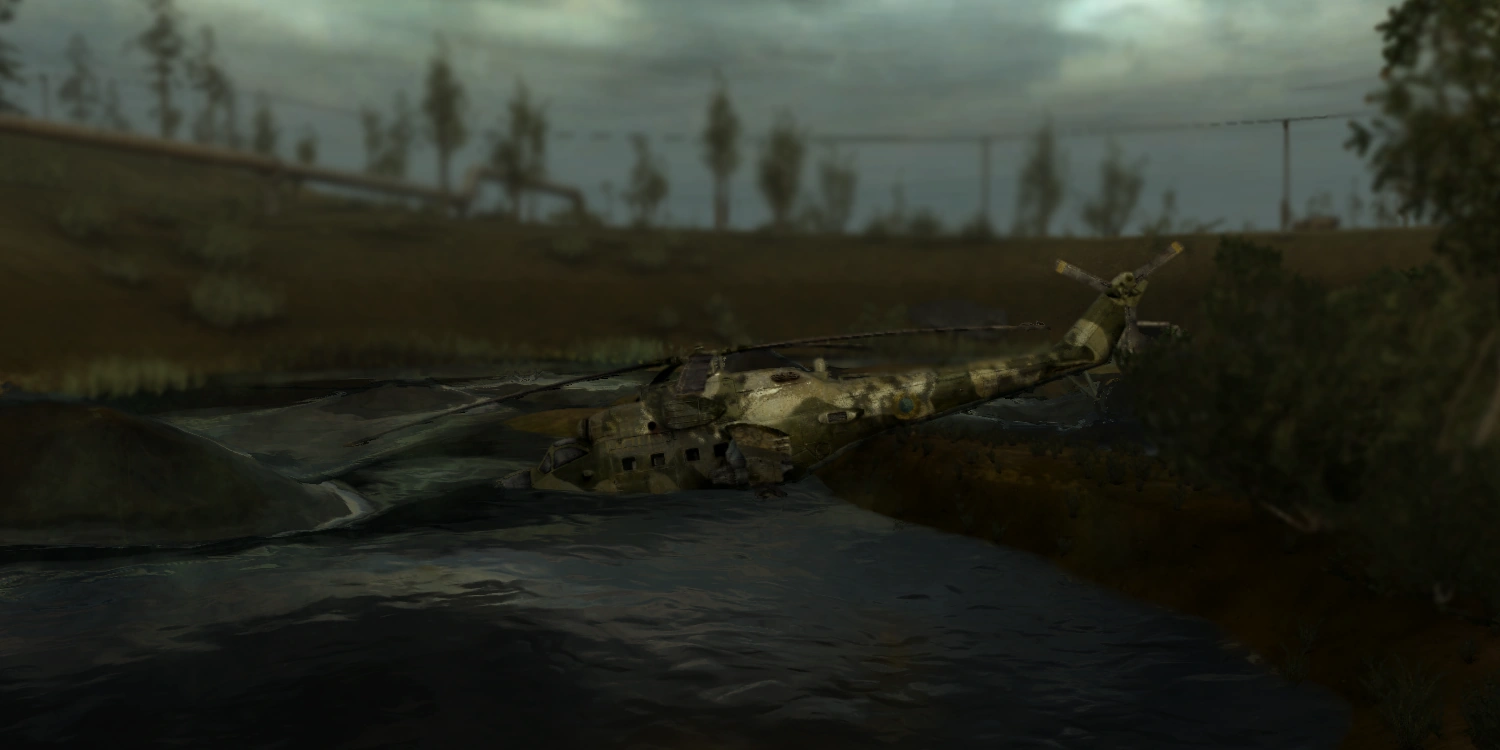
Stingray 5
This helicopter was struck by an unknown source much like Stingray 4, and crashed into a swamp area full of chemical and spatial anomalies. While some of the crew was killed on impact, and in the trek through the anomaly field, the remainder linked up with the few survivors of Stingray 3, taking refuge inside Noah's Ark. Afterwards, they were escorted to link up with the survivors from the Yanov area crash sites, and Guide escorted them to Pripyat itself.
Tips
- If you have a low level, unupgraded suit, don't try to approach by cutting across the swamp - it's suicidal. Instead, circle around until you're at the western side, and then carefully but quickly work your way through.
- Remember, after inspecting the helicopter, move around to the other side to the containers. They contain Military Medkits, as well as a rare PB1s pistol.
Relevant
Evacuation Points of Military: Evacuation areas that military soldiers might have gathered. Location of these areas are learned from the wreckage of Stingray 3. There three points; B-2, B-205 and B-28. Your next main quest will be this mission, after you have investigated the wreckages.