No edit summary |
|||
| Line 174: | Line 174: | ||
==='''Iron Forest Anomaly'''=== |
==='''Iron Forest Anomaly'''=== |
||
[[File:Epos-zp-steel_forest.jpg|thumb|right|The "Iron Forest" Anomaly.]] |
[[File:Epos-zp-steel_forest.jpg|thumb|right|The "Iron Forest" Anomaly.]] |
||
| − | Not too far from the [[STINGRAY#STINGRAY_2|STINGRAY 2]] crash site is a field of [[Electro]] anomalies. A [[Poltergeist]] is not too far from the anomaly field, and might cause issues with a player exploring the area nearby. Sparkler and Battery artifacts can spawn in the Electro cluster. A [[Black Kite]] with some [[.45 ACP FMJ|.45 ACP]] ammo can be found |
+ | Not too far from the [[STINGRAY#STINGRAY_2|STINGRAY 2]] crash site is a field of [[Electro]] anomalies. A [[Poltergeist]] is not too far from the anomaly field, and might cause issues with a player exploring the area nearby. Sparkler and Battery artifacts can spawn in the Electro cluster. A [[Black Kite]] with some [[.45 ACP FMJ|.45 ACP]] ammo can be found, and a [[Pseudogiant]] will appear in the basement, accessed with [[Cardan]]'s keycard, during the mission to retrieve the Item 62 papers. |
==Main Missions== |
==Main Missions== |
||
Revision as of 13:23, 10 December 2019
Zaton, also called Backwater, is an explorable territory in S.T.A.L.K.E.R.: Call of Pripyat. Like the Great Swamps, Zaton is mainly set in a swampy area, with a few industrial factories scattered around it and derelict, grounded boats, some dating back before the incident. From the outlying structures and sizable number of grounded boats and tankers around, Zaton appears to have been drained of its water sometime after the Chernobyl incident, most likely to contain the radiation contamination in the water. A free bar for Stalkers is run by Beard, in the wreck of a tanker – the Skadovsk.
Zaton serves as the starting area for the game. Three of the Stingray crash sites - Stingray 2, 3 and 5 - are located here. Later in the game, the player will have to return get the Documents concerning item 62 from the Testing Workshop.
Notable Locations
Skadovsk

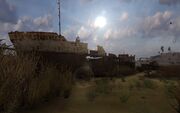
Skadovsk seen from the side.
The hub of activity in Zaton, the Skadovsk is a grounded tanker, mostly rusted and slowly degrading in the wake of the Chernobyl accident. Beard has turned it into a rudimentary bar and blowout shelter. Other merchants such as Owl, Tremor, and Nimble call it home as well. The local technician Cardan also stays in the Skadovsk. Despite being mostly operated by Loners, Bandits also call the Skadovsk home. The result puts Beard into conflict with their leader, Sultan on a routine basis. The local guide in this area is Pilot, who can always be found in the middle of the bar.
Shevchenko
A large ship with a large explorable interior near Skadovsk. This is a location is also a safe area used to escape an Emission. This is also the location of the The Hit, regardless of chosen side.
Dock Cranes
A few tall cranes and containers with a small shack located over a hill from Skadovsk. This area plays a role in the missions Missing Stalkers and Reputation. A stash with an IL 86 can be found in a small boat to the southwest just before one of the cranes. This stash can be useful especially early in the game since the ammo for the IL 86 is scarce in Zaton. Another stash, containing a Martha along with 150 rounds of 9x19mm FMJ, can be found in the cab of the Truck near the shack and finally, there is another stash which contains 180 5.45x39 mm rounds tucked away in between the cabin and the counterweight of a crane.
Ranger Station
A small military complex home to a transaction between Bandits and Mercenaries. Directly to the south of this station lies a bridge.
You can find an AKM-74/2 along with some of its ammo inside one of the large machines in the main building. The rear of the truck to the northeast also contains some Tourist's Delight cans. A stash with an SPSA-14 can be found in the attic of the small building to the west, along with another stash containing a few Army Medkits and Gauss Batteries behind one of the machines (which can be easily identified by its white Monolith symbol depicting an atom) making for a total of four stashes.
Preobrazhensky Bridge
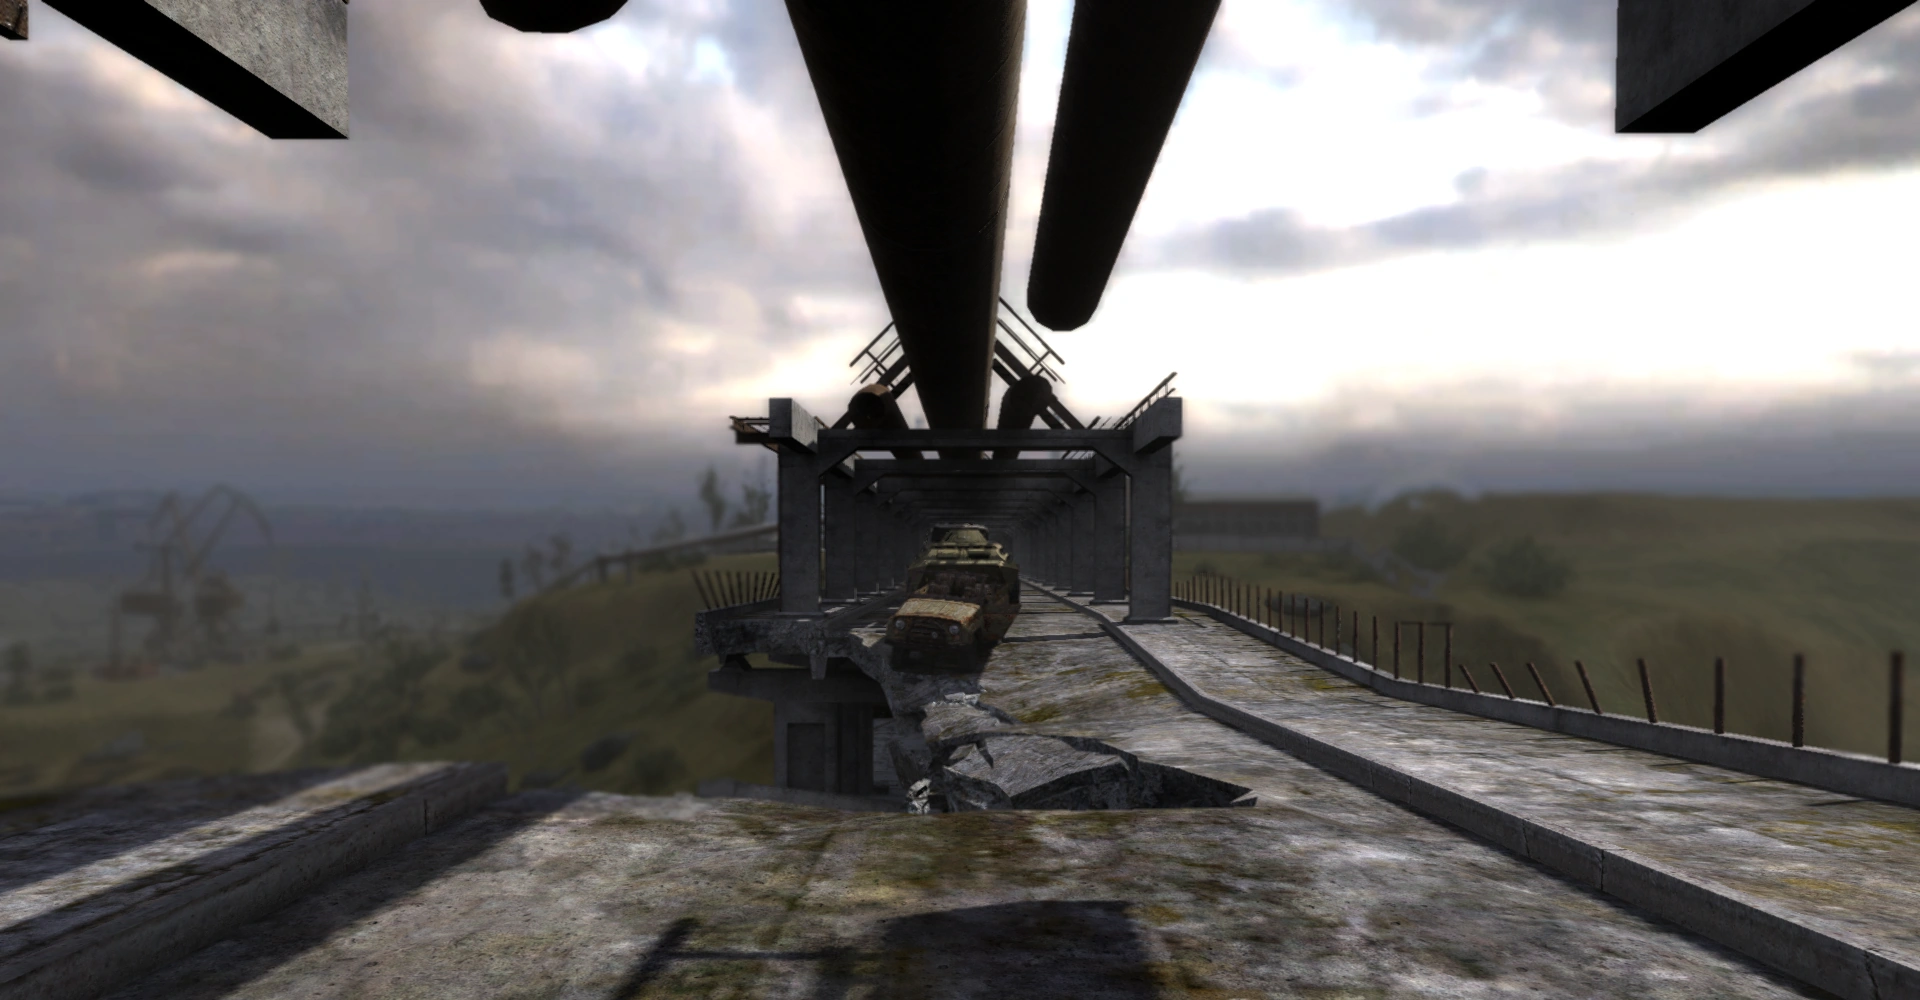
The Bridge
A military transport of a poison gas was taking place when this bridge was hit with multiple anomalies.
There are some items in the jeeps on the bridge. There is also a locked container in the lorry, but two keys are needed to open it. The location of the keys are in a jeep on edge of the bridge to the north (Containing key A) and a jeep under the bridge to the south (containing Key B). There's a gas canister in the locked container which is needed in order to wipe out the Bloodsucker lair in the Krug Antenna Complex.
There are also some documents in the jeeps on the bridge that can be sold to Owl for 2400 rubles, which effectively returns your investment if you had paid him for information about where to find a gas container.
Waste Processing Station
The area is controlled by a small group of Mercenaries. If you are spotted near the area you will get a warning. (and your game will auto-save if you have "autosaving" option enabled) If you're spotted again, walk into the facility, or shoot one of the mercenaries, the group will start firing upon you. If you ask Owl for a job, this is one of locations he will send you to. See Mercenary Camp.
Dangerous Cave
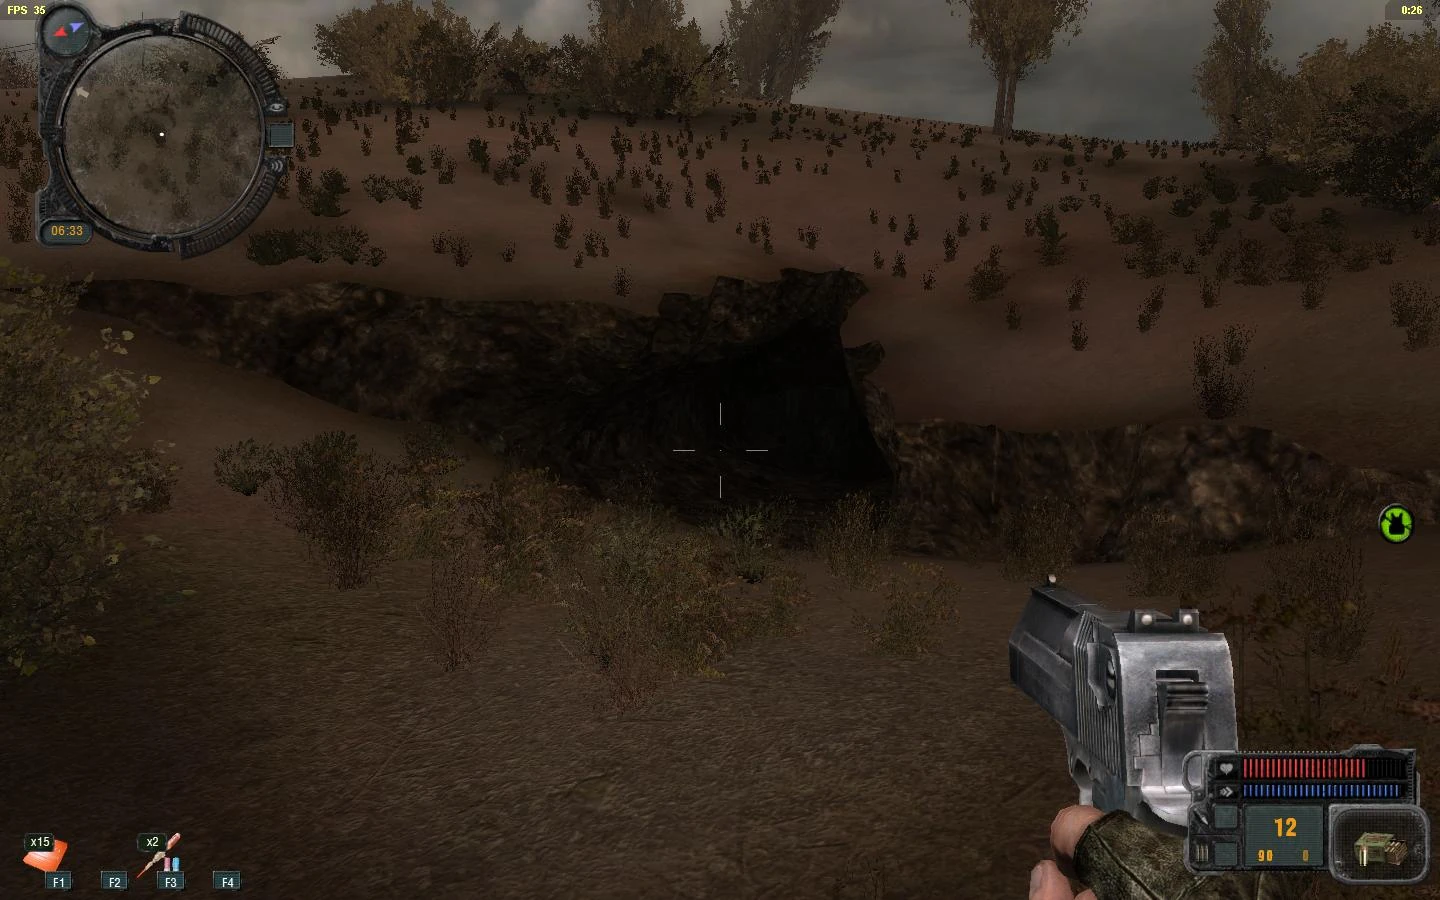

Entrance to the cave.
A small location sited north east of the Burnt Farmstead. Inside there are some supplies, mainly drugs. However a player (especially if novice) should not go there unprepared as a Controller appears while entering.
Sawmill
An abandoned sawmill in the northwest corner of the map, the sawmill has since been overrun by zombified stalkers. Below the mill is a house with a stockpile of various rare ammunition in the attic as well as a Basic Toolkit. A medical stash is also found inside the tractor in the southwestern barn (you may have to push one of the wooden boxes to get to it). If the player does not kill all zombies in the area before taking the Basic Toolkit, a real zombie invasion in both Zaton and Yanov will occur. Zombies will appear almost as often as Bandits and Stalkers across the land. The zombies in the immediate area are also likely to swarm the house after you recover the tools if not killed first, potentially trapping you there.
Early in the game, the player can "farm" the zombies by selling their relatively decent condition weapons and other inventory items for a nice profit without causing the huge invasion if the player does not eliminate all the zombies.
Two stashes, one with a SVDm-2 can be found to the north; under a tree to the east of the road and close to the edge of the map, and another with an AKM-74/2 with a grenade launcher can be found to the northwest under another tree.
Krug Antenna Complex

Bloodsuckers after being taken care of - area contaminated with poisonous gas.
An abandoned radio navigation array, now home to a party of Bloodsuckers. A location best noted for being the Bloodsucker Lair mission's main point of interest. A very unpleasant area that rookies should avoid until the nest is exterminated. A stash with 3 Army Medkit and one pack of Gauss Rounds (A Monolith stash) can be found inside a pillar of machinery on the ground floor to the left side from the left main doorway by the jeep. Under the stairs to the left of the main entrance there is also a stash of 100 45 ACP rounds and 120 9x39 SP-5 rounds.
Izumrudnoye
Note: aka Emerald.
There is a total of three stashes in this area, one of which is located under one of the houses and containins a TRs 301 along with 120 rounds of 5.56x45mm SS109. The location is given by Spartacus if the player sides with the stalkers during The Hit. There is also a worthwile food stash in the southwestern house and at last, another weapon stash containing an AKM-74/2 located under one of the planks, near a hole on top of the large roof above the stage. The area occasionally contains a group of wandering Boars or Fleshes, and there will almost always be a Bloodsucker there. The mission Hunting the Chimera takes place here and can be often disturbed by some of these randomly spawning mutants.
Old Barge
Note: aka Noah's Ark.
Home of a paranoid Loner named Noah and his pet Pseudodog named "Lassie". He will fire upon all who try to enter his home but each time he will hit the door. Open the door again, and Noah will keep his gun trained on you, but will not fire unless fired upon. He knows the way to the Southern Plateau and will offer to show you the first time.
Fueling Station
Mutants spawn at the fueling station and it is advised not to go there without a good reason. There is a stash on top of the roof, you can get there by climbing on the fuel-reservoir in the back and jumping on the roof. You will find a Sunrise suit and some vodka. It is also located next to crack in the ground where you need to go in for the Unreachable Stash mission you get from Snag.
Southern Plateau
Crash site of Stingray 3. This area is only accessible after you ask both Owl and Noah about getting there. The area has a cave that is home to 2-5 Snorks. There are 2 dead Spetsnaz soldiers, Snr Lt Smolyak and WO Umerov. On the other side, outside of the cave lies another dead Spetsnaz soldier, Lt Drapei, next to the crash site.
Substation Workshops
This abandoned complex is home to a group of Mercenaries led by Hatchet . They have seemed to abandon their goals in the Zone and remained idle for some time. Their idleness is made apparent by a lack of food supplies and the mission Supplies is offered here. Once the player fulfills this quest, they grant him permission to enter the area and look around. This area is important because it contains a kit of Tools for Fine Work needed for Cardan in order to perform better upgrades for the player's weapons.
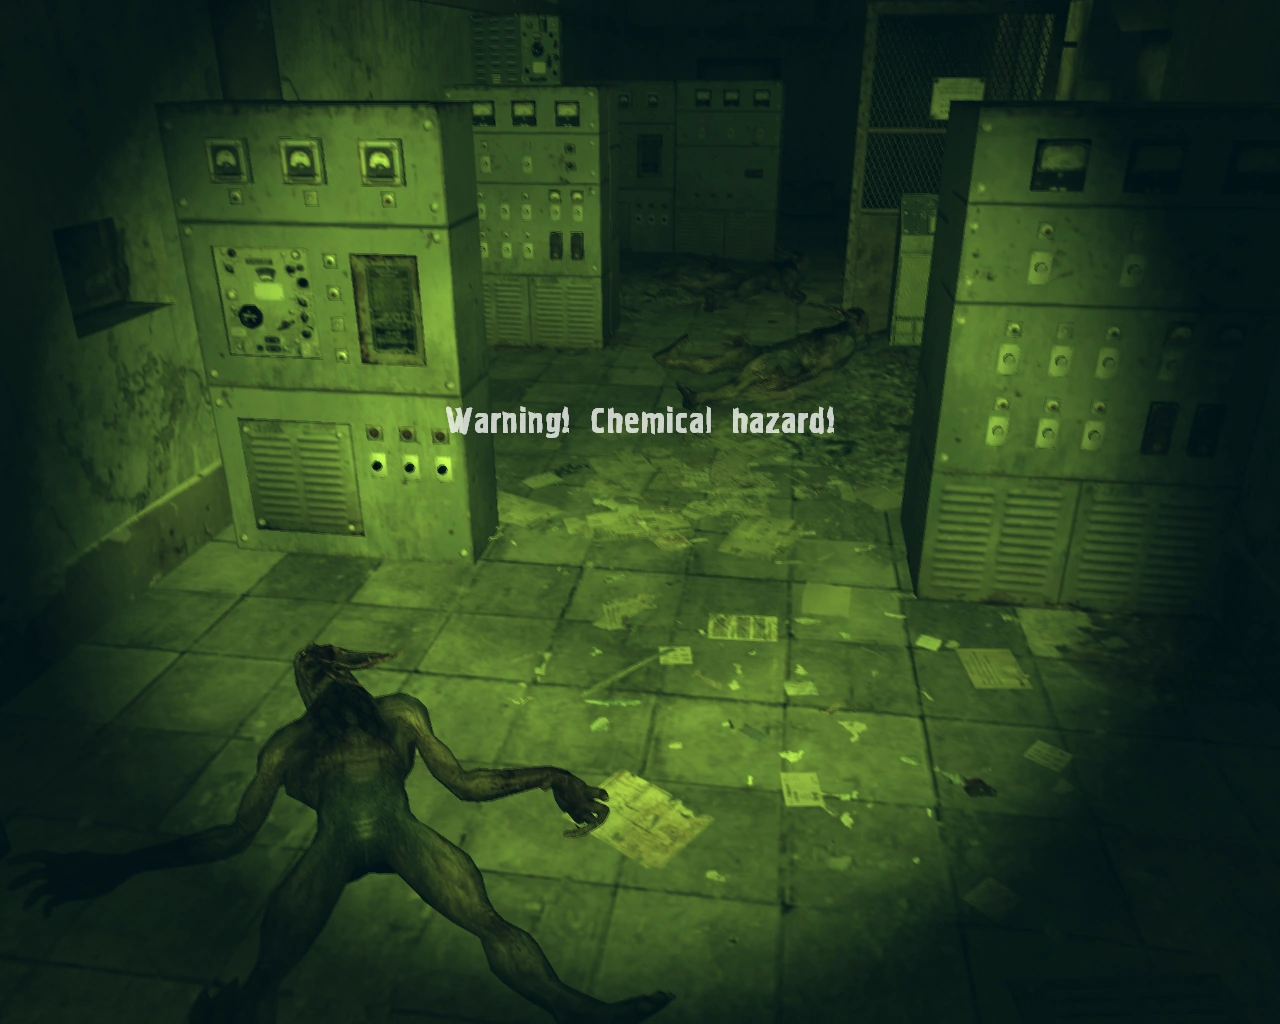
Testing Workshop
The Testing Workshop is a location under the Iron Forest anomaly. The entrance to the workshop is inside a small building in the southwestern corner of the Iron Forest. This area is only accessible with the keycard given by Cardan. There is also a stash containing a Black Kite and some .45 ACP ammo. The Testing Workshop itself is home to several zombified stalkers and a Pseudogiant. It also has a Monolith Stash (Army Medkits and Gauss Batteries) on the air vents over the testing room where you meet the pseudogiant.
Anomaly Fields
Boiler Anomaly

The "Boiler" Anomaly.
An extremely hot anomaly field, boasting a new variant of Burner (or Fault to be more precise) anomalies called Boilers. The name comes from the unique combination of water and fire anomalies, which result in steaming-hot water gushing from deep cracks in the earth. Such a phenomenon is not seen in any other Fault. Initially the ambient temperature alone will likely be enough to scare off stalkers without adequate protection. The cramped, tight confines will also cause a great deal of problems. You can find Petruha here with his traveling companion Awl, also known as Sidlo in some translations. You can find any artifact that spawns in thermal anomalies.
Dredge Station
Sometimes referred to as the "grounded tug", the dredge station is a large boat near the Boiler Anomaly. Behind the ship is a field of gravity anomalies amongst a patch of heavy radiation. With a couple of anti-rads, or even a few bottles of vodka, even a rookie can grab the artifacts safely. Both Jellyfish and Night Star artifacts spawn in the anomaly field. See Strange Phenomenon quest.
Burnt Farmstead Anomaly
An anomaly field to the northwest. The remnants of a farmstead now filled with extremely hot, burner-laden anomalies. Fire-based artifacts such as Crystal and Fireball spawn here. An undamaged Vintar BC can be found on the north-most burnt building by climbing up the angled wood at the side or using the ladder inside.
Burnt Farmstead Anomaly (underground)
The Burnt Farmstead has an underground cavern, which is accessible by any of the cracks on the surface near it. Some cracks are quite deep and can damage the player should they decide to take a more direct route into the caves. The underground contains gravitational, chemical, and comet anomalies, making this a very dangerous area. However, it also offers one of the best rewards – spawning anything from Jellyfish to Bubble artifacts. The body of the Stalker Barge can also be found near one of the exits. Meat Chunk and Wrenched are also recurring spawns, though their positions are random within the cave (rarely, they can even spawn in open space above caves). Sometimes inside the cave an artifact will appear on the detector but not be visible. If this happens, approach the area and look up - it may be stuck to the ceiling. The best way to get it down is to shoot it so it will roll toward a lower part of the wall where you can pick it up. While your eyes are on the ceiling, do be wary of roaming anomalies.
Swamp
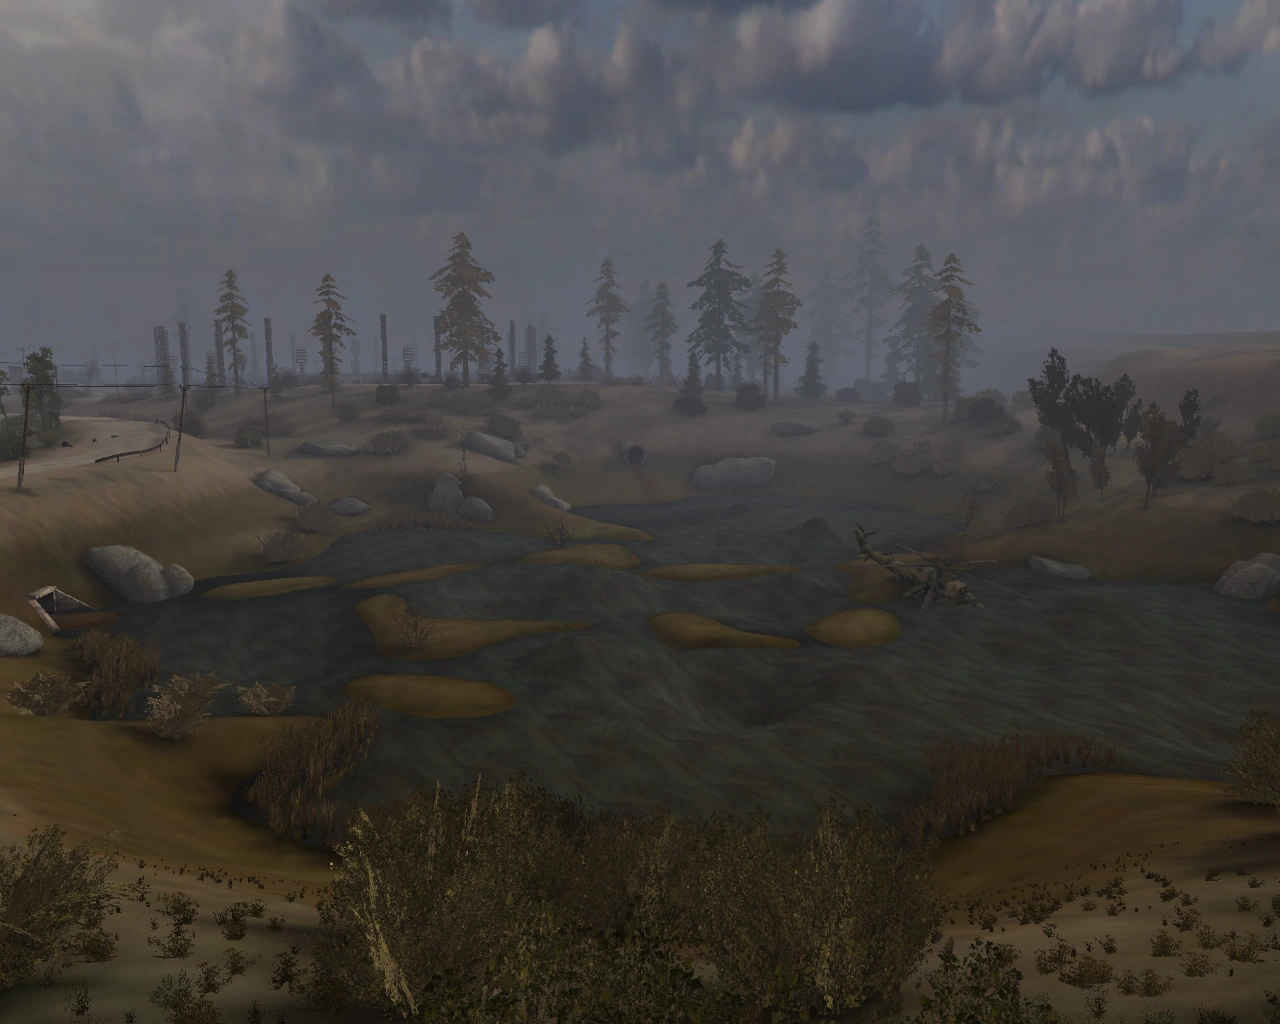

Zaton Swamp.
Stingray 5 crash site. The field is a mix of chemical and gravitational anomalies, the latter can be easily identified by the severely distorted water. Like the Oakpine Anomaly, the air is very acidic and can quickly erode low-quality armor and helmets. Only chemical artifacts spawn here.
A low tunnel nearby provides a handy shelter from emissions.
The safest way to get to the downed helicopter is to circle around to the far side of the field, opposite the tunnel.
Oakpine Anomaly
Oakpine from distance.
A chemical based anomaly field consisting of a gnarl of warped trees growing over a pit of acidic anomalies. The field can deal severe damage to your armor even if you avoid the anomalies themselves. A rare Kolobok is located atop the twisted tree as a fixed spawn. An occasional Soul artifact may spawn down below in the anomaly field, along with other chemical artifacts.
Joker's remains, his PDA, and an upgraded Gas mask can be found just South of the anomaly.
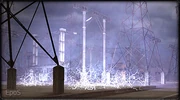
Scar Anomaly
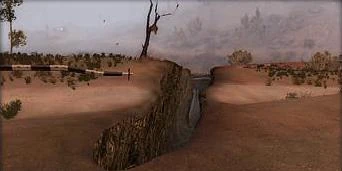
The "Scar" Anomaly.
The Scar Anomaly, also known as the Tripe Anomaly in some translations, is a psychic anomaly field consisting of a massive ditch likely carved out by the intense psi energy it contains. Probably the easiest field to explore, as a player can use an energy drink or Hercules to give them the stamina to charge from the top to the bottom, sometimes not even using a single medkit. Only electrical artifacts such as Sparklers will spawn in the field. When observed from a distance, the image within the range of this anomaly becomes distorted.
Claw Anomaly


The "Claw" Anomaly.
A bizarre, twisted crater set near a network of caves functioning as a Snorks nest. Features only gravitational anomalies, along with a patch of radiation in the middle of the claw formation. Jellyfish is a fixed spawn in the U-shaped tunnel accessible by climbing the deformed ground and jumping inside.
Circus Anomaly
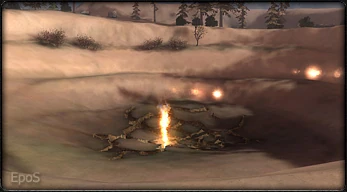

The "Circus" Anomaly.
A hot, fire-roaming anomaly circles the Circus Anomaly field near the Southern plateau near the STINGRAY 3 crash site. Within the circle is a Fault anomaly. A Pyrogeist can be found here, as well as fire-based artifacts.
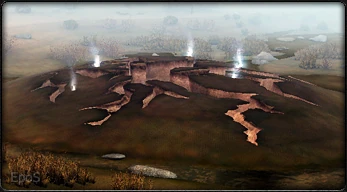
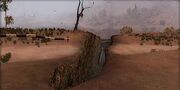
Iron Forest Anomaly

The "Iron Forest" Anomaly.
Not too far from the STINGRAY 2 crash site is a field of Electro anomalies. A Poltergeist is not too far from the anomaly field, and might cause issues with a player exploring the area nearby. Sparkler and Battery artifacts can spawn in the Electro cluster. A Black Kite with some .45 ACP ammo can be found, and a Pseudogiant will appear in the basement, accessed with Cardan's keycard, during the mission to retrieve the Item 62 papers.
Main Missions
Stingray 2
- Completion of this mission launches side mission Area Maps.
Stingray 3
Stingray 5
Side Missions
General
Beard's missions
- Strange Phenomenon
- Artifacts wanted by Beard
- Compass
- Transaction (alternatively; depends on The Hit)
Sultan's missions
- The Hit
- Shady Business
- Transaction (alternatively; depends on The Hit)
Owl's missions
- Mercenary Camp
- Tempting Business
- Transaction (alternatively; depends on The Hit)
Cardan's missions
Gonta's missions
Grouse's missions
Snag's missions
- Unreachable Stash or (Unreachable Zaporozhetz)
- Reputation
Hatchet's missions
Template:Zaton
| |||||||||||||||||
| ||||||||||||||||||||||||||
| ||||||||||||||||||||||||||
| ||||||||||||||||||||||||||